|
|
Post by Jeff - jthspace on Jan 25, 2022 18:52:29 GMT
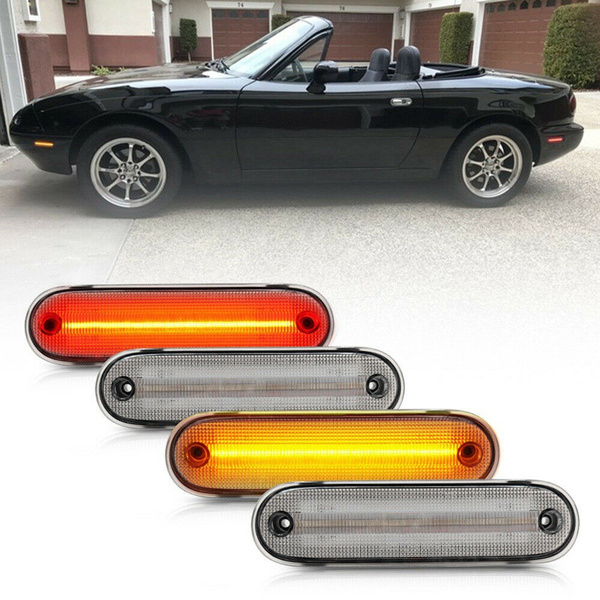
Got these on order and will be fitted when it's a bit warmer . . . £20 on wish.com. Currently on their way from China, due next weekend. Need to match the ND!  |
|
|
|
Post by Jeff - jthspace on Mar 8, 2022 17:39:31 GMT
Managed to prepare all of the side repeaters by adding wires and connectors to them, and making them waterproof. Will add some photos later. Disassembled the left headlight and sidelight units and remade all of the existing solder connections to incorporate the new wiring for the side repeaters. This took longer than I had anticipated so only the front left hand side has been completed - so some limited photos! This is the LED headlight with the sidelight ring illuminated (headlights off), and the LED switchback sidelight plus the new yellow side repeater.  Headlights down . . .  I will hopefully get the right hand front done tomorrow, and the rears to follow a.s.a.p. |
|
|
|
Post by Roadie on Mar 9, 2022 0:50:09 GMT
Looking impressive.  |
|
|
|
Post by RS on Mar 9, 2022 9:07:30 GMT
Looks great Jeff, nice mod...  |
|
|
|
Post by Jeff - jthspace on Mar 9, 2022 14:52:13 GMT
Got the right hand front done, redid all of the solder joints from when I fitted the LED headlights, they were showing some corrosion/dust. Heat shrunk the joints and then double layered another heat shrink sleeve - should do the job! The rear left was easy, under the jack was a rubber bung straight to the outside world so threaded the wires through the bung, connected to the new repeater and into the rear light housing where I scotch-locked the leads. The scotch lock I used was a two-part type, cramp onto the power and then connect the repeater via a space terminal. This makes removing wiring etc very easy. The rear right was a little more challenging at first as the battery is on a shelf and I couldn't see an easy way to the outside. Then I looked and saw the little vent pipe for the battery. I have a sealed-for-life battery that doesn't need a vent. The pipe popped out and I used a grommet with the wires pushed through a small slit made with a bradle. All done. The sun came out as I was taking the photos so the LED's don't show as bright as they are; also photographing LED's is not so easy as the phone compensates for the brightness. I will try and get some pics when its dark. Overall, I'm very pleased with the effect.    |
|
|
|
Post by Jeff - jthspace on Mar 9, 2022 18:19:35 GMT
|
|
|
|
Post by Roadie on Mar 9, 2022 23:51:27 GMT
If you are using heat shrink on joints that are exposed to the elements it's best to use the heat shrink with an adhesive lining. Sticks better and seals against moisture. Most underground joints in the BT network use adhesive lined shrink down joint closures. If fitted correctly they are very reliable.
This is the stuff I use.
|
|
|
|
Post by Jeff - jthspace on Mar 10, 2022 9:03:03 GMT
Will have a look, thanks!
|
|
|
|
Post by Jeff - jthspace on Mar 10, 2022 18:42:38 GMT
As I was doing the work, I realised the indicators were rather dim in comparison . . what to do? . . LED THEM, of course. Quick visit to Amazon for LED yellow BA15S bulbs and two 60 ohm resistors to stop the hyperflash. 20 minutes later . . . Right Hand Indicator on/off   Hazards . .  Dare someone to say that they didn't see me indicating! |
|
|
|
Post by RS on Mar 10, 2022 19:39:06 GMT
They're a bit bright Jeff !
|
|