Post by mxdave on Mar 31, 2023 16:32:04 GMT
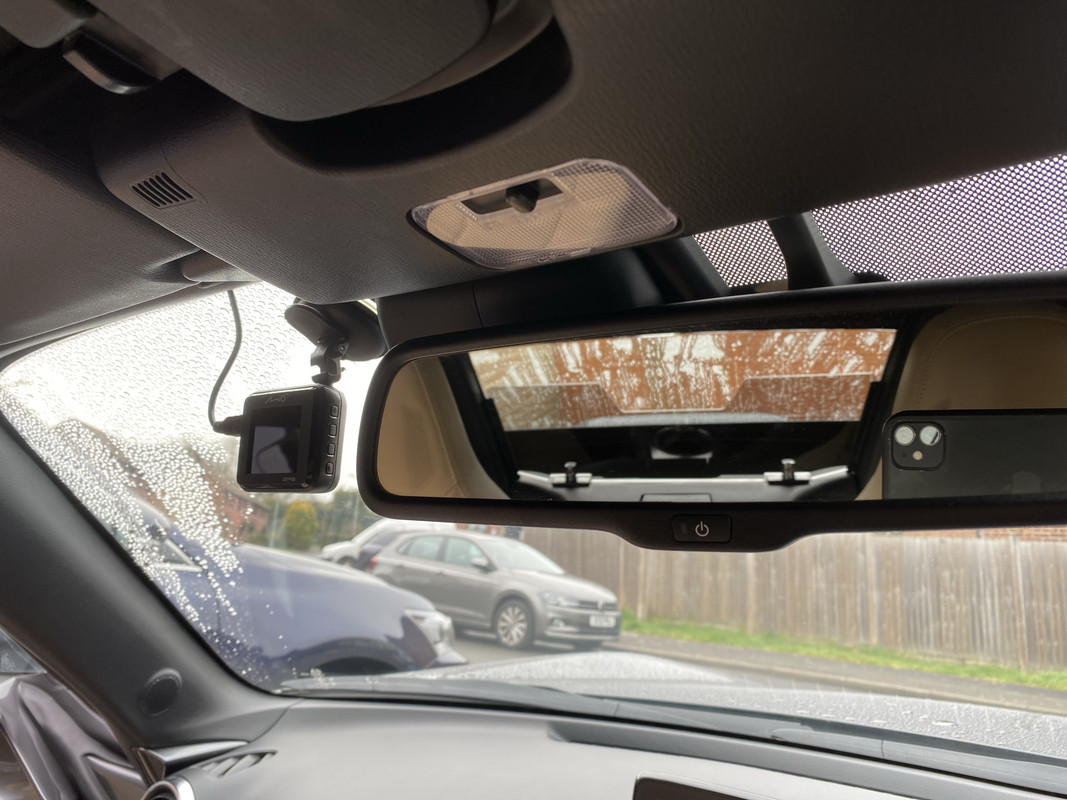
I wanted to install a hard wired supply for my dash cam. I already had the cable and voltage converter that I had removed from my Launch Edition. This consisted of the cable with the necessary plug on the end, a voltage converter and a piggyback fuse connection. I did buy a ferrite filter to put on the cable as I learnt when I install this in my other car that it interfered with the DAB radio reception. Although the DAB aerial on that car is in the windscreen so it affected it. I’m not sure on the MX5 where the DAB aerial is, I think it uses the same one as the FM/AM. But never the less I thought I fit one anyway.
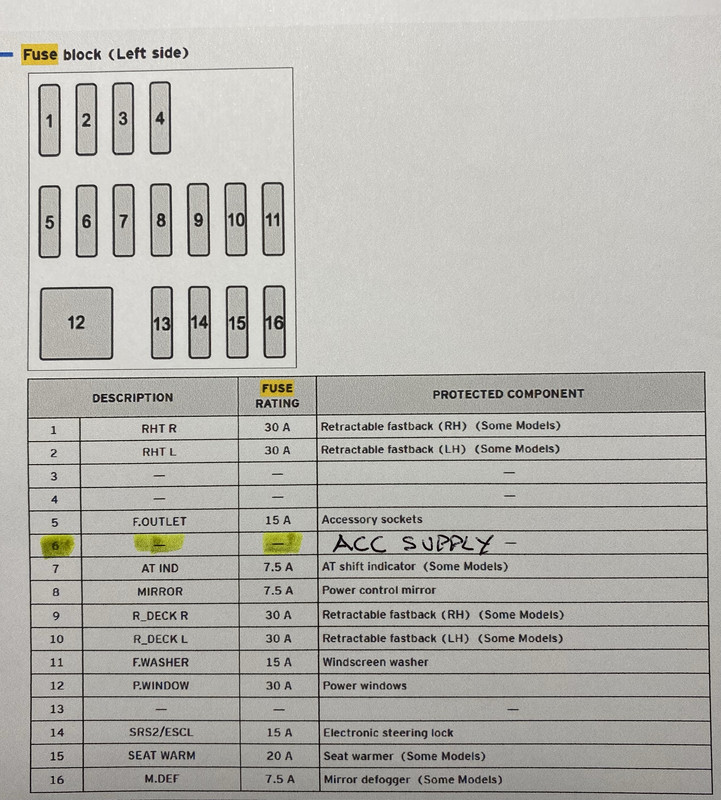
There is a fuse box on the passenger side just in front of the door opening so the first thing was to study the fuse layout and see which of the fuses to piggyback off.
I wanted an Ignition feed so that the dash cam is only powered when driving but I couldn’t find one. After testing all the supplies in the fuse box they were either permanently live or supplied on accessory (ACC) setting.
I managed to find a disused fuse location that had ACC supply so I didn’t need to actually piggyback off of any existing fuse. This is fuse No. 6 as shown on the diagram.
So, it was a case of strip out trim to give me access to the fuse box and to run the cable up the A-pillar and along the top of the windscreen.
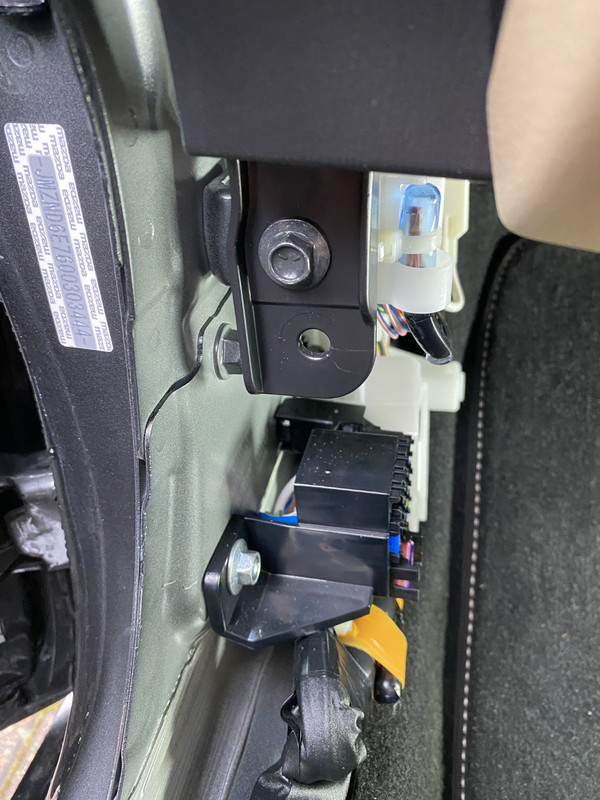
To start I removed the passenger side sill trim.
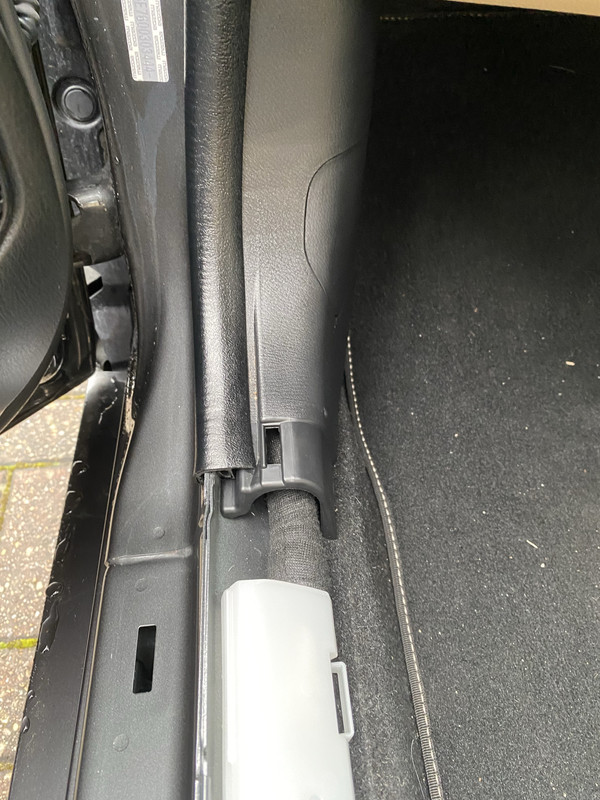
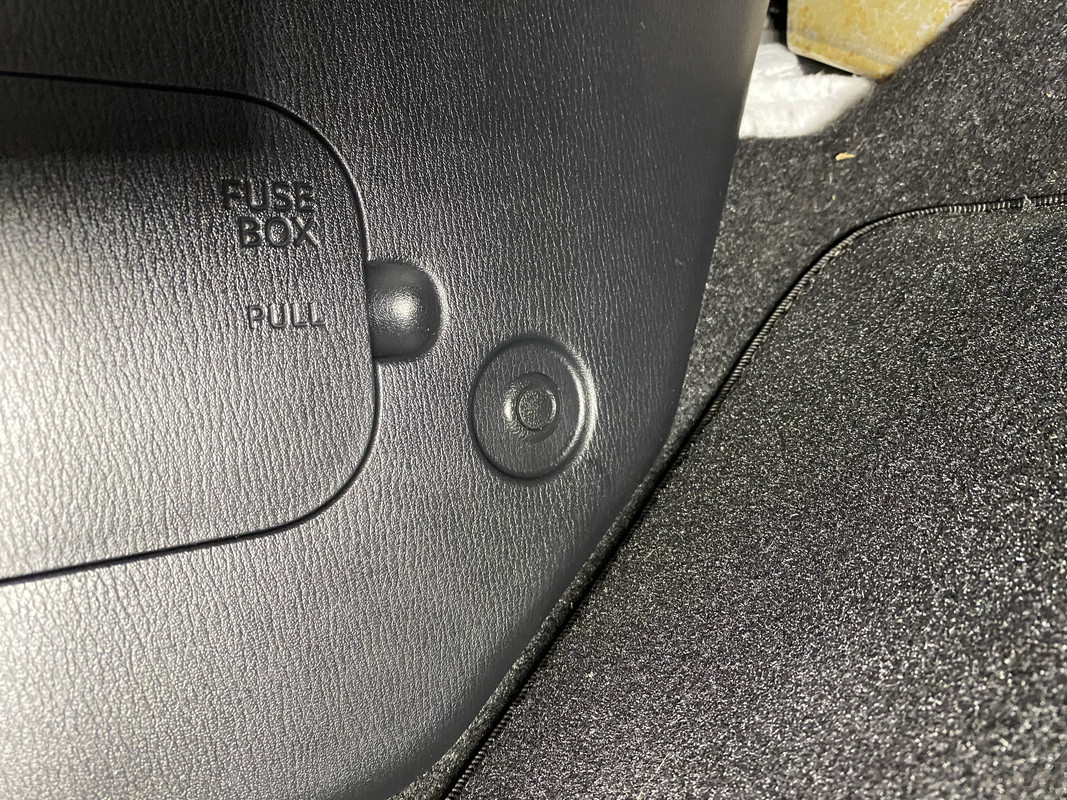
Then I removed the rubber door seal and then the fuse box cover. Just need to remove one clip at the front as shown and then pull the trim backwards to pull a clip out of it’s hole.

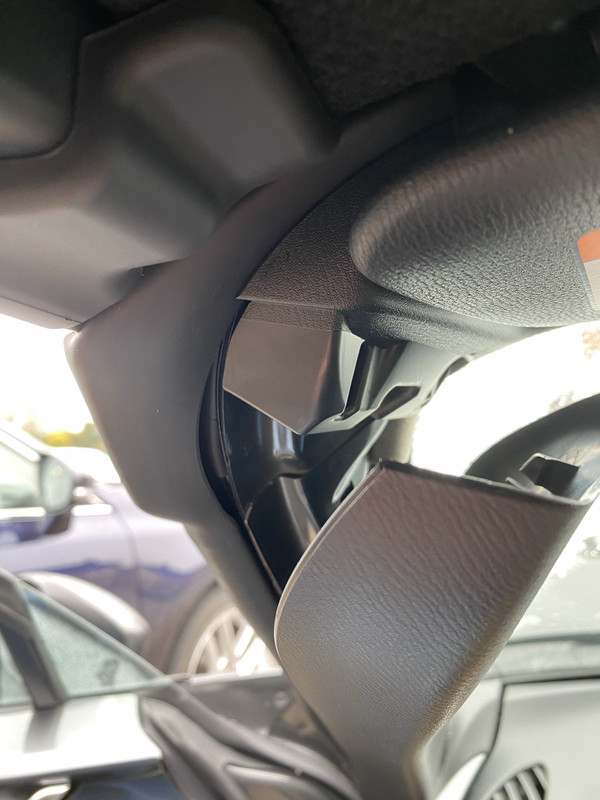
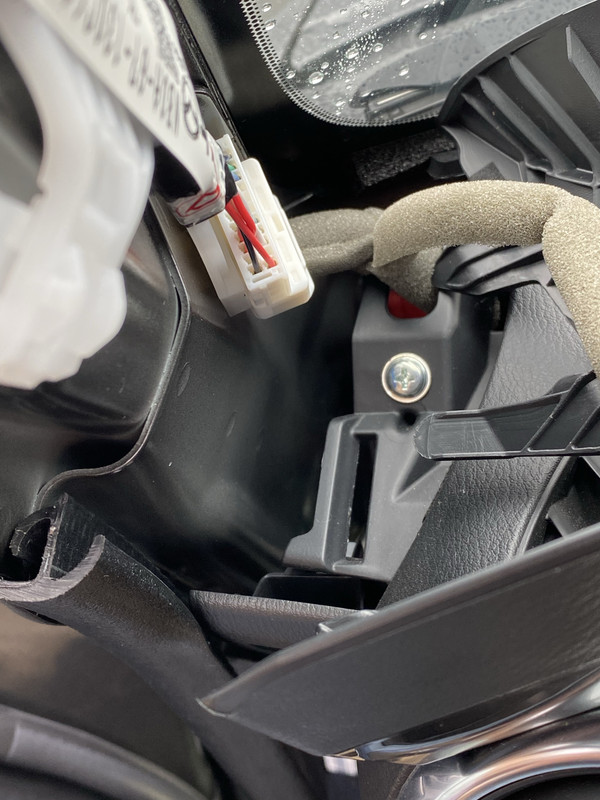
Next it’s on to the A-Pillar trim. This can be removed by pulling away from the top, there is a clip about half way down that can need quite a firm tug to release. Once the trim is away at the top you need to pull the trim up so that the two plastic tongues are pulled out of their slots. The trim can then be just laid down on the top of the dashboard, no need to release the wiring from the little speaker that’s near the bottom of this trim.
There is a fuse box on the passenger side just in front of the door opening so the first thing was to study the fuse layout and see which of the fuses to piggyback off.
I wanted an Ignition feed so that the dash cam is only powered when driving but I couldn’t find one. After testing all the supplies in the fuse box they were either permanently live or supplied on accessory (ACC) setting.
I managed to find a disused fuse location that had ACC supply so I didn’t need to actually piggyback off of any existing fuse. This is fuse No. 6 as shown on the diagram.
So, it was a case of strip out trim to give me access to the fuse box and to run the cable up the A-pillar and along the top of the windscreen.
To start I removed the passenger side sill trim.
Then I removed the rubber door seal and then the fuse box cover. Just need to remove one clip at the front as shown and then pull the trim backwards to pull a clip out of it’s hole.
Next it’s on to the A-Pillar trim. This can be removed by pulling away from the top, there is a clip about half way down that can need quite a firm tug to release. Once the trim is away at the top you need to pull the trim up so that the two plastic tongues are pulled out of their slots. The trim can then be just laid down on the top of the dashboard, no need to release the wiring from the little speaker that’s near the bottom of this trim.