

Post by mxdave on Sept 4, 2023 16:17:51 GMT
So, I took advantage of the recent MX5 Parts 10% sale and bought myself a boot spoiler. I couldn't decide whether to fit using the bolts supplied, which obviously requires drilling two holes in the boot lid, or just stick it on with the supplied tape or tape and Tiger Seal. I decided for complete peace of mind to go with bolting 
This is what arrived from MX5 Parts.
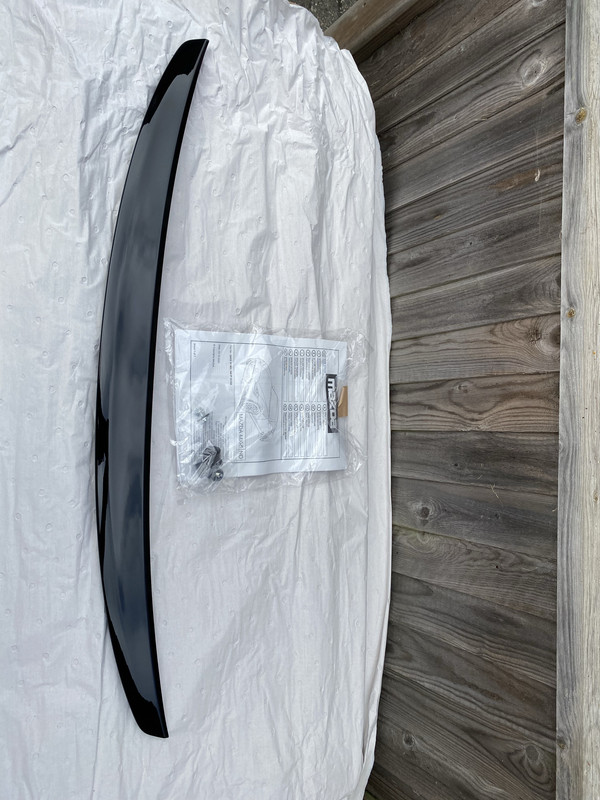
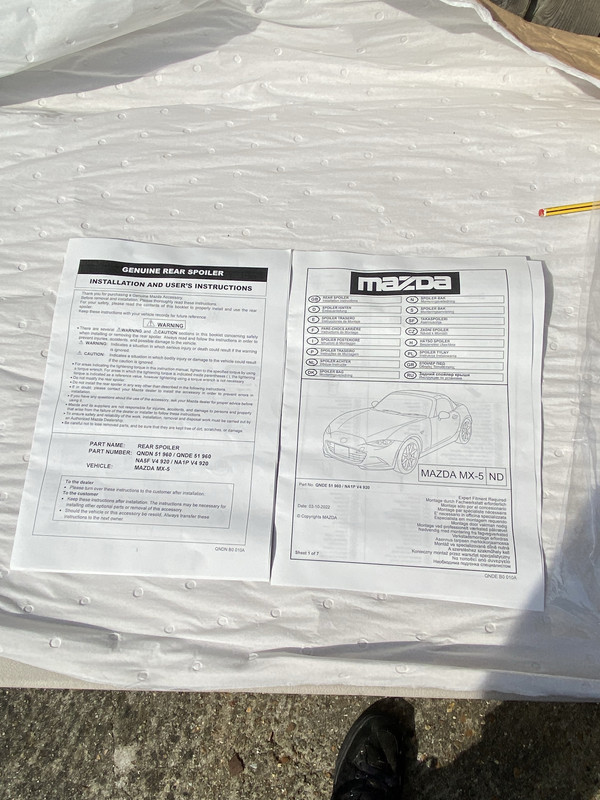
It came with full instructions, templates as a guide for positioning and where to drill holes and a bag containing two nuts and bolts and two new rubber buffers.
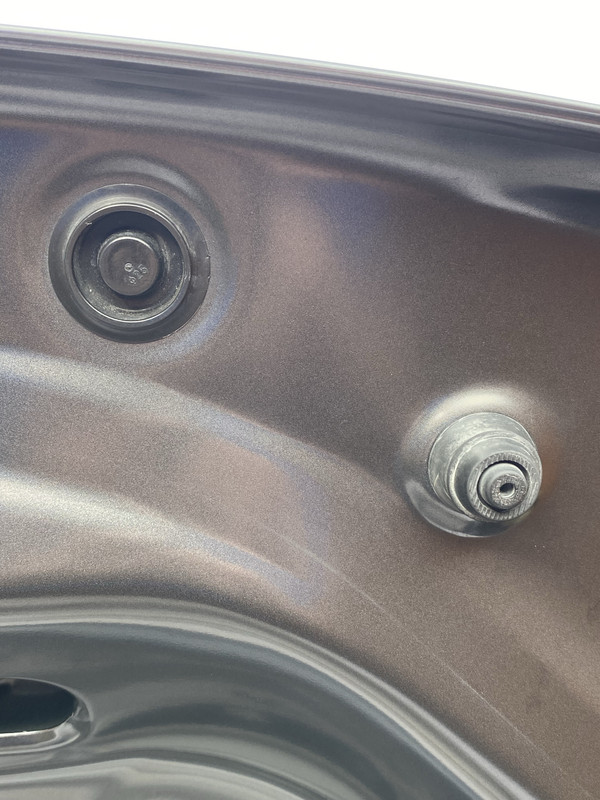
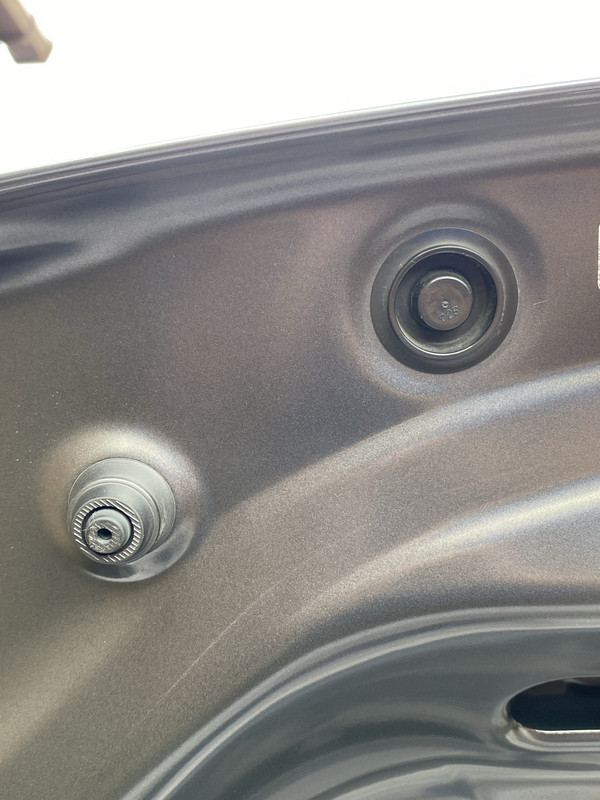
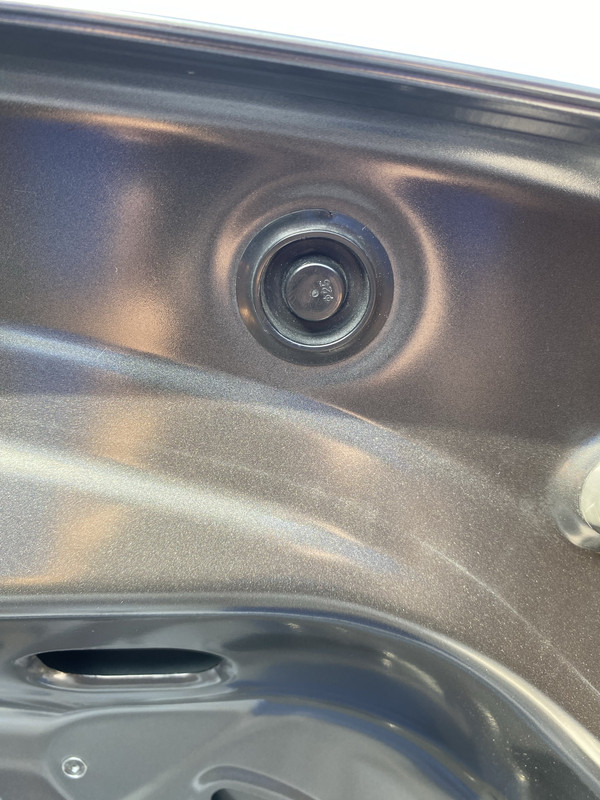
The first job was to remove the two plugs from the underside of the boot lid where the bolts are going to come through.
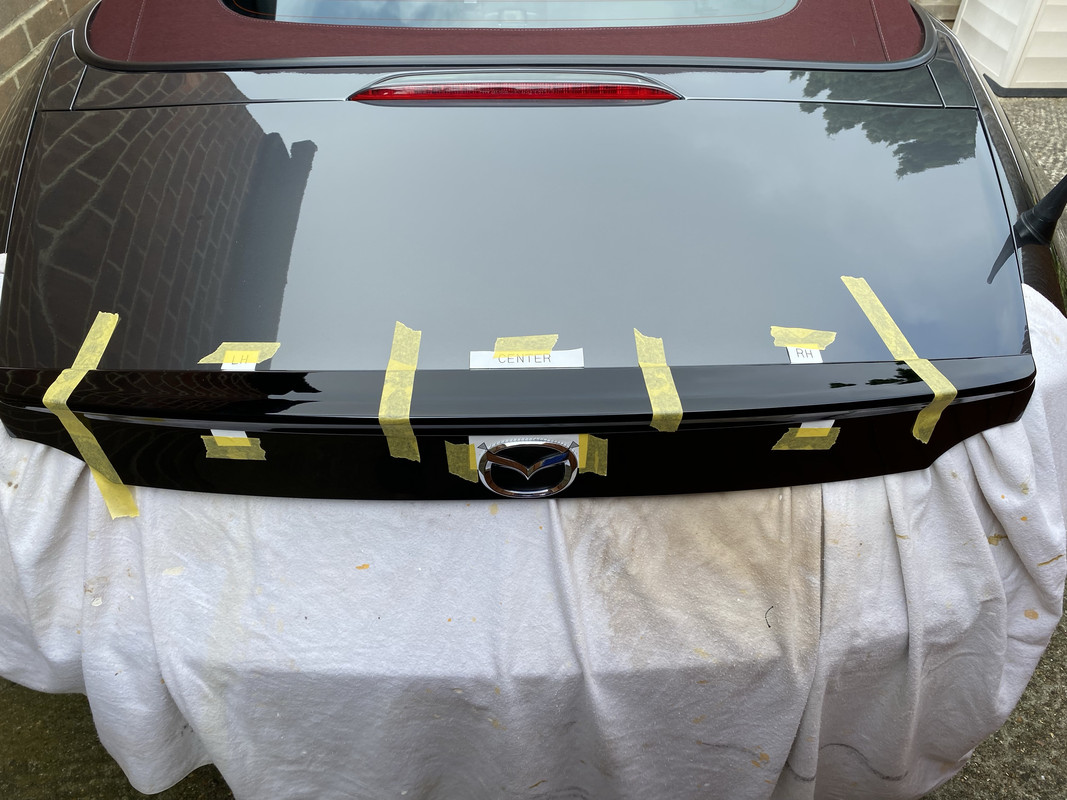
The next job is to cut out the templates, tape the centre one to the boot lid aligning with the Mazda emblem and using small loops of tape attach the templates for the holes to the underside of the spoiler.
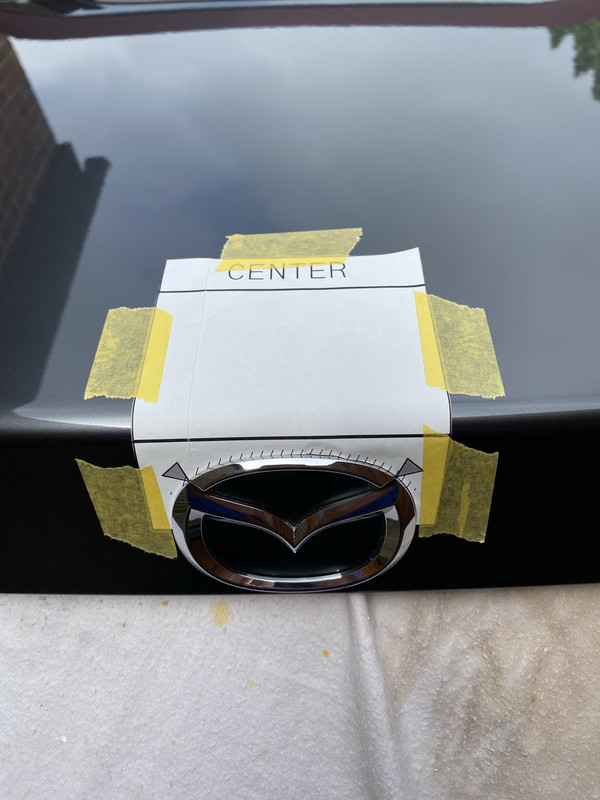
Then to align the spoiler and stick down the templates for the holes.
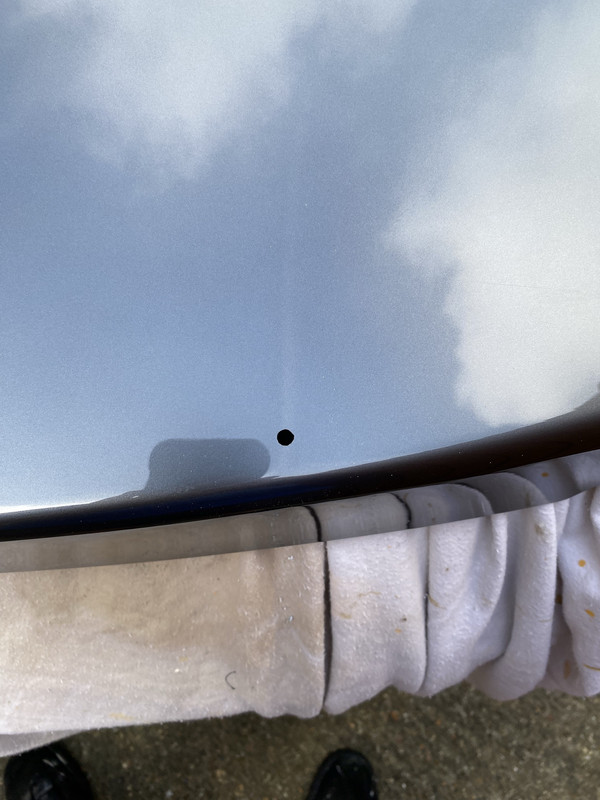
After carefully removing the spoiler leaving the hole templates in place it was down to that dreaded moment, drilling the holes.
The instructions tell you to drill 10mm holes but after reading several reports that you can get away with 6mm holes (as long as you're accurate in positioning them) I just drilled 6mm, 3mm first and then opened out to 6mm.
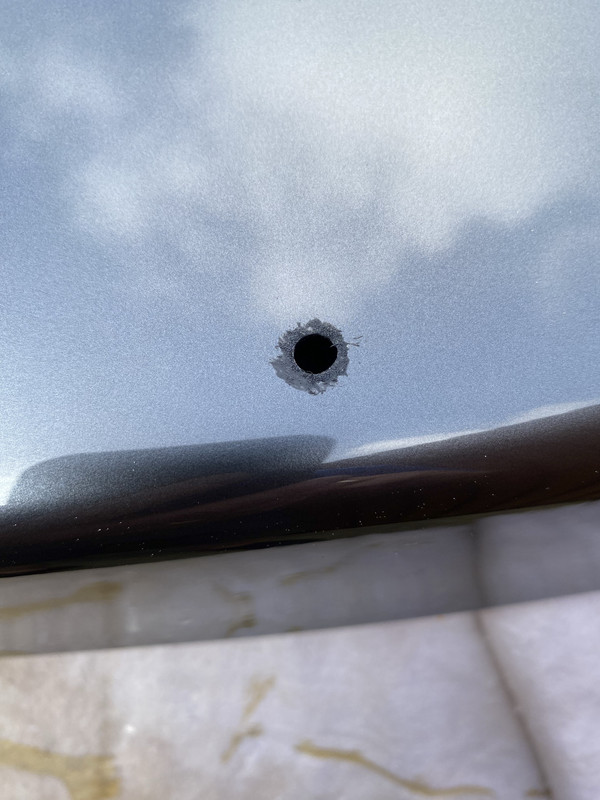
And then after cleaning up with a small round file I painted some Smoothrite on to protect from corrosion.
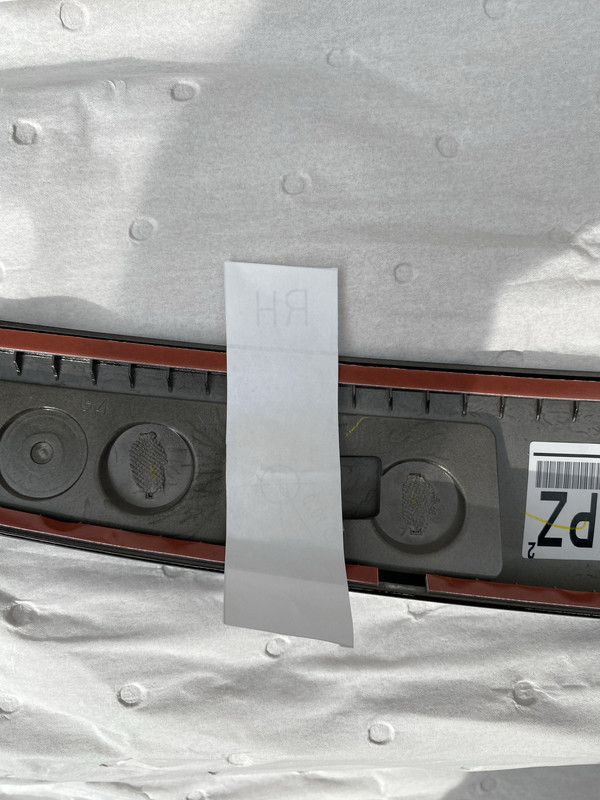
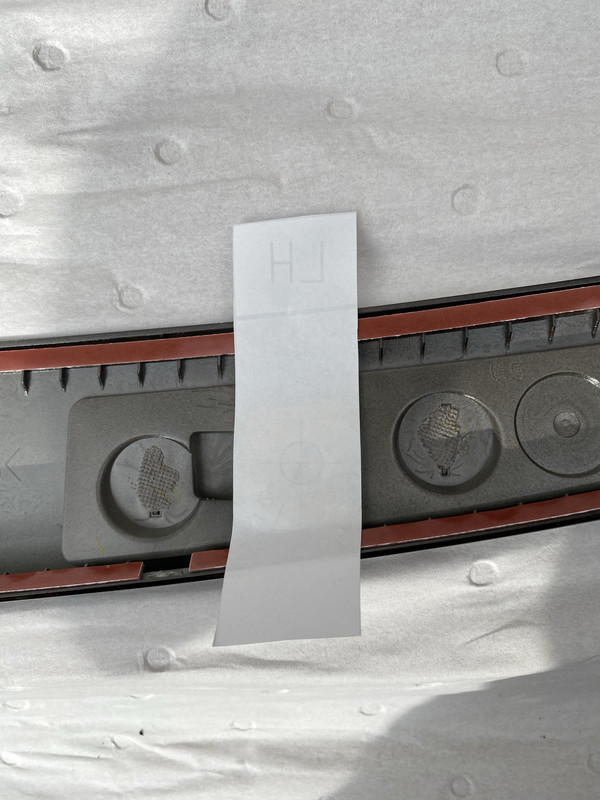
Next I positioned the bolts in the underneath of the spoiler. They have a square head that slots into appropriate slots in the underside and click into place.
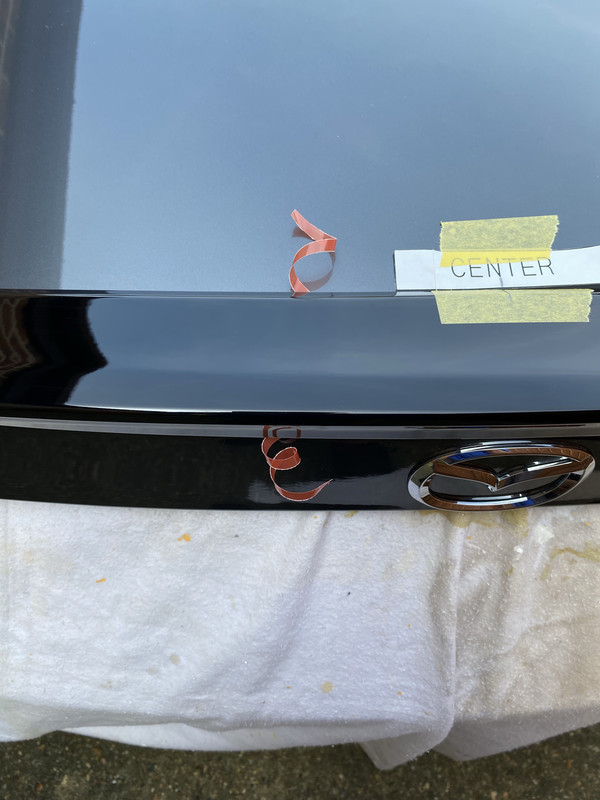
I then had to cut the centre template along the line that aligns with the front edge and I also put a bit of tape on the front edge of the spoiler and drew a line across onto the template to make sure I got it centred when finally attaching.

Next it was down to sticking it on. I pulled the backing off the sticky tape at the ends of the spoiler and pulled away about 100mm of the other bits of backing and made sure the ends where sticking out so that I could pull the rest of the backing off once the spoiler was located.
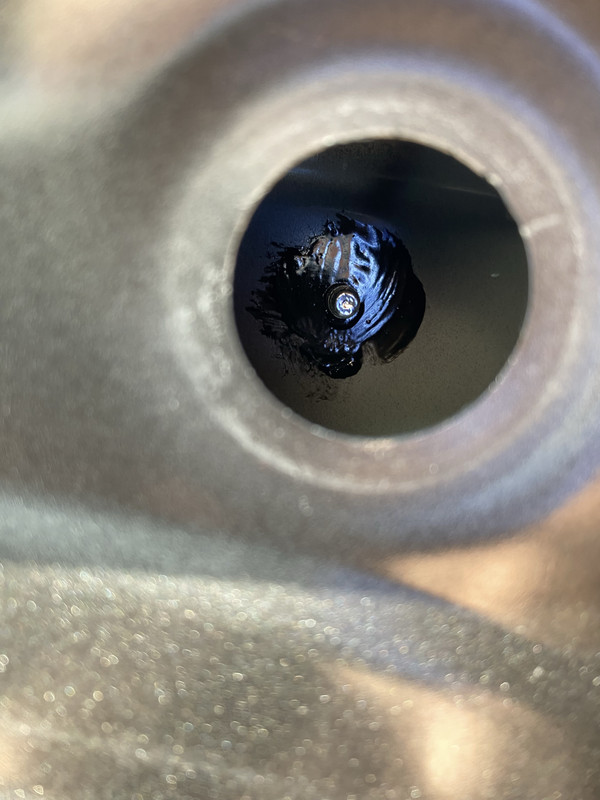
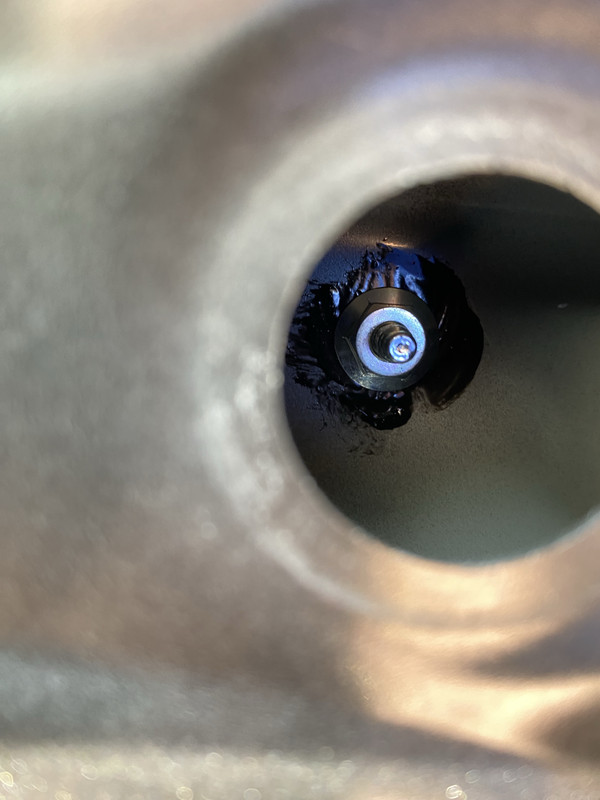
Once this was done I applied even pressure to the spoiler all over but particularly at the ends and along the edges and inserted the nuts through the holes in the underside of the boot lid (carefully so not to drop a nut or my 10mm socket into the depths of the boot lid), tightened them up and replaced the plastic caps over the holes.
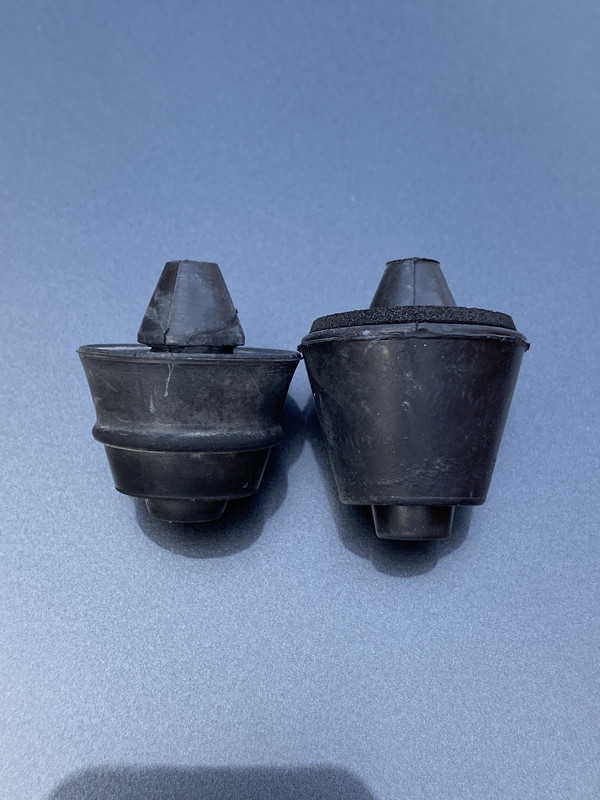
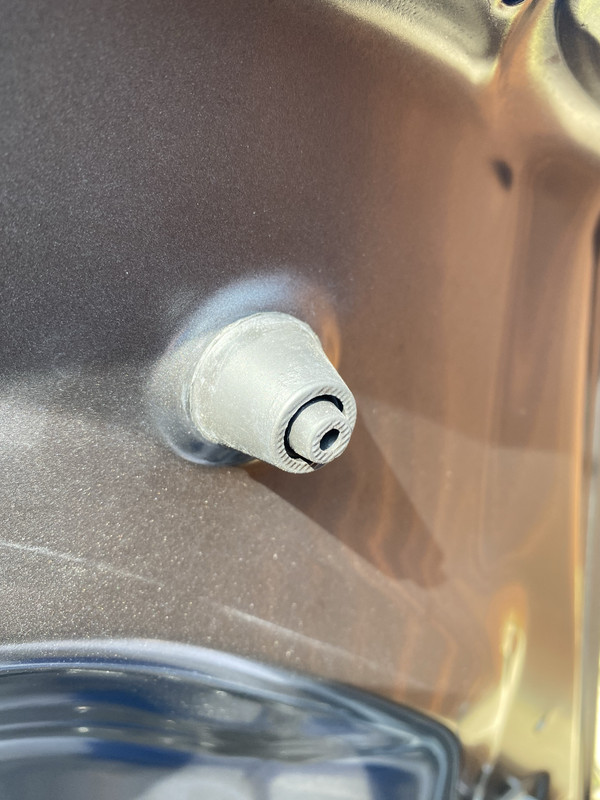
and finally I needed to remove the rubber stops from under the boot lid and replace them with the ones supplied with the kit. I'm not sure why, the new ones are fractionally longer but not sure what difference they make.
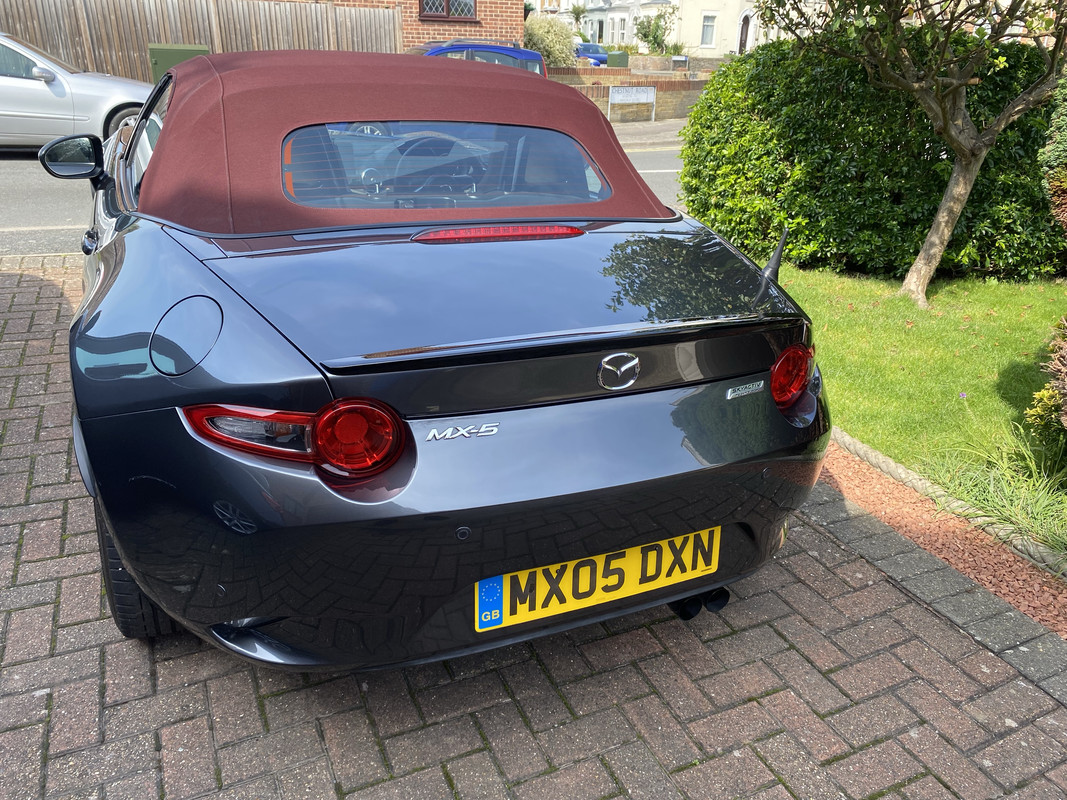
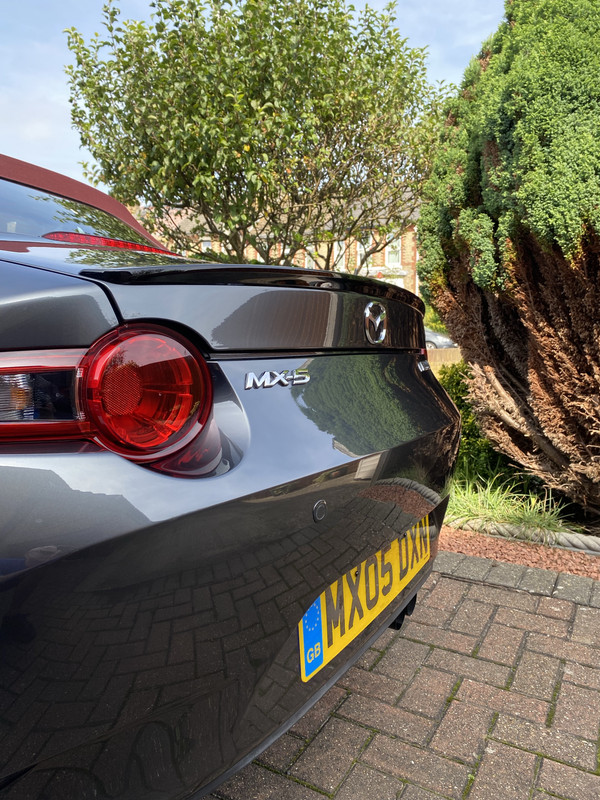
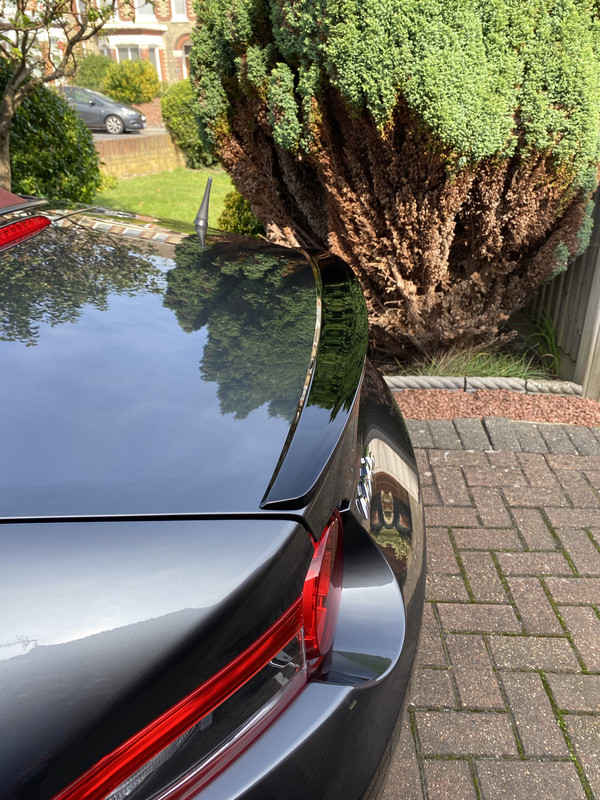
I'm really please with it. The genuine Mazda one is rather expensive but I think it's worth it for the look and reassurance that it's going to fit properly. The instructions and templates that come with it are spot on too.

This is what arrived from MX5 Parts.
It came with full instructions, templates as a guide for positioning and where to drill holes and a bag containing two nuts and bolts and two new rubber buffers.
The first job was to remove the two plugs from the underside of the boot lid where the bolts are going to come through.
The next job is to cut out the templates, tape the centre one to the boot lid aligning with the Mazda emblem and using small loops of tape attach the templates for the holes to the underside of the spoiler.
Then to align the spoiler and stick down the templates for the holes.
After carefully removing the spoiler leaving the hole templates in place it was down to that dreaded moment, drilling the holes.
The instructions tell you to drill 10mm holes but after reading several reports that you can get away with 6mm holes (as long as you're accurate in positioning them) I just drilled 6mm, 3mm first and then opened out to 6mm.
And then after cleaning up with a small round file I painted some Smoothrite on to protect from corrosion.
Next I positioned the bolts in the underneath of the spoiler. They have a square head that slots into appropriate slots in the underside and click into place.
I then had to cut the centre template along the line that aligns with the front edge and I also put a bit of tape on the front edge of the spoiler and drew a line across onto the template to make sure I got it centred when finally attaching.
Next it was down to sticking it on. I pulled the backing off the sticky tape at the ends of the spoiler and pulled away about 100mm of the other bits of backing and made sure the ends where sticking out so that I could pull the rest of the backing off once the spoiler was located.
Once this was done I applied even pressure to the spoiler all over but particularly at the ends and along the edges and inserted the nuts through the holes in the underside of the boot lid (carefully so not to drop a nut or my 10mm socket into the depths of the boot lid), tightened them up and replaced the plastic caps over the holes.
and finally I needed to remove the rubber stops from under the boot lid and replace them with the ones supplied with the kit. I'm not sure why, the new ones are fractionally longer but not sure what difference they make.
I'm really please with it. The genuine Mazda one is rather expensive but I think it's worth it for the look and reassurance that it's going to fit properly. The instructions and templates that come with it are spot on too.


 .........but no!